How to setup a New Mac and Transfer all your data!
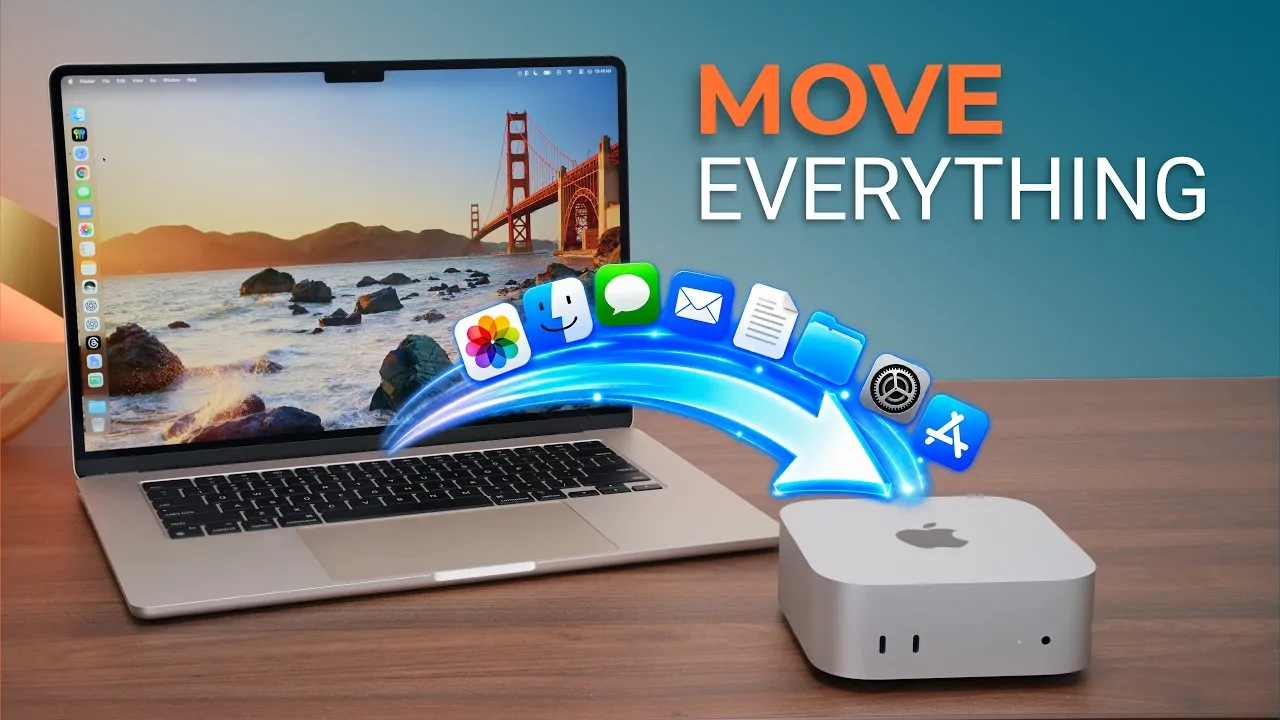
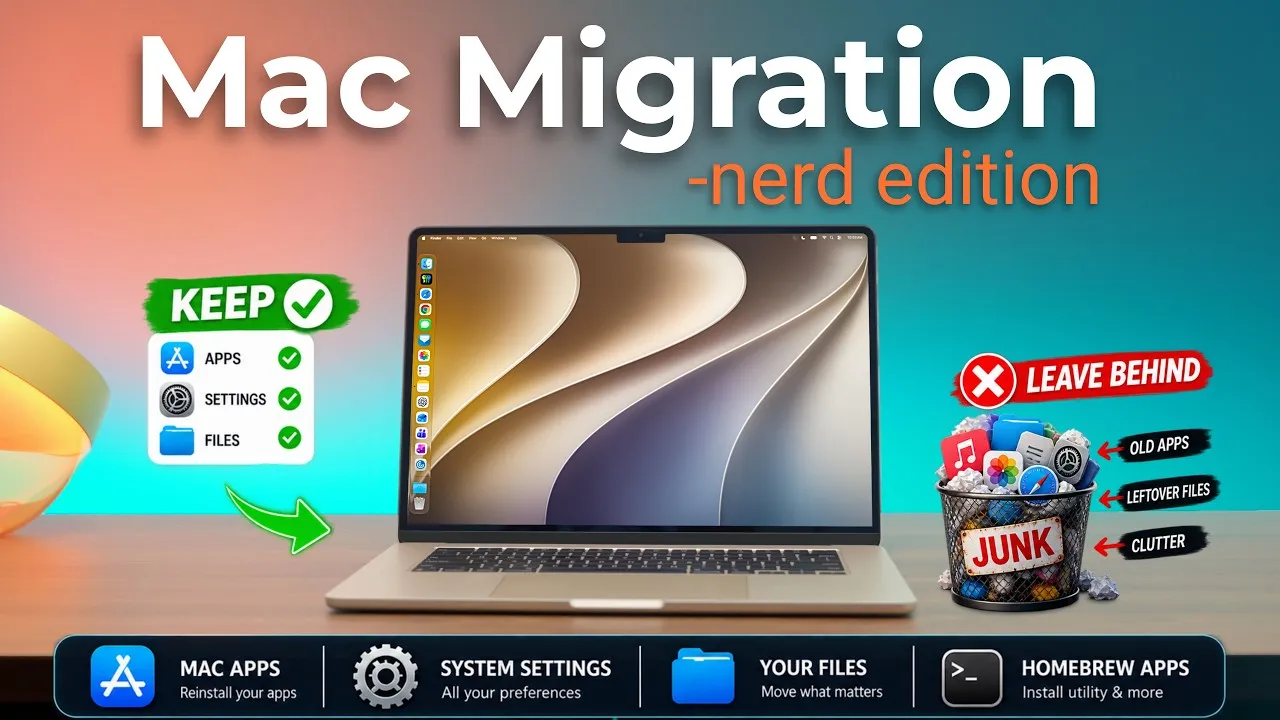
If you just bought a new Mac, laptop or desktop, and wonder how to make it look just like your old one, here’s how. It’s pretty easy, but it takes time, so set enough aside, and you can’t use the old Mac until it’s finished. This process has been around a long time, and I’ve had very good success with it, though there can be issues. If you’ve already done the initial setup on your new Mac, I’ll show how to migrate later, too.
Your options
- Time Machine. If you have a full Time Machine backup of the old Mac, you can restore from it on the new one. In my experience in the last few years, Time Machine has been pretty unreliable for me as a backup, a restore, or a way to set up a new computer, so I wouldn’t recommend it, and I don’t use it myself.
- Set up as new, then move things later. It’s a more invasive procedure: you move apps and data yourself with AirDrop or a USB drive, but a lot of application data doesn’t migrate this way, since many files in your hidden Library folder won’t come along. I wouldn’t recommend it unless your old computer has issues or you know you have a lot you don’t need on the new one.
- Migration Assistant (what we’re using). It migrates your applications, data and settings as seamlessly as possible, and is by far the most seamless and quickest way to get going.
Setting up
On the new Mac: choose your language and region, skip accessibility (if you don’t need it), pick your Wi-Fi network, and read Apple’s data and privacy screen. Then Migration Assistant starts with its options: from a Mac, Time Machine backup or startup disk. (A startup disk means another startup disk inside your computer or a partitioned drive with multiple bootable systems.) If you need to transfer from Windows, a limited set of files can transfer from a PC, but that’s a different video. Choose Transfer from another Mac.
It warns you to connect to AC power, since this can take a while, especially on an old laptop with a poor battery.
How to connect the two Macs
There are three ways:
- Direct Wi-Fi. The two Macs connect directly, bypassing your router. It’s the slowest, estimated at about 2 MB/s, and not my recommendation, but it works if you have no other option.
- Ethernet. You’d need an Ethernet dongle for each Mac and a 1 Gb connection between them. It’s faster than Wi-Fi, about 41 MB/s, but not as fast as the third.
- Thunderbolt 3 cable. By far the fastest: over 1 GB/s. I highly recommend picking up a Thunderbolt 3 cable (there’s a link in the description).
On the old Mac
With the cable connected, open Migration Assistant on the old Mac: Applications → Other (or Launchpad). Click Continue and enter your password. It closes all your apps and logs you out, since files and settings that are open can’t be migrated. Choose To another Mac, and confirm the AC-power warning. The two Macs discover each other, and you’ll see a code on both screens to confirm you’re transferring to or from the right computer. The old Mac then scans for files and users, which takes a couple of minutes.
On the new Mac
You’ll see what’s available to migrate: Applications, Users, Other files and folders (application data and configuration settings), and System and network information (sharing preferences, the computer name, and so on). At the bottom is how much data will transfer. If your new Mac has less storage than the old one, deselect items by drilling into folders. I chose everything.
Set a password for the administrator user (it can be the same as on the old Mac or new). Other, non-admin accounts get a temporary password, which those users enter the first time they log in, and then they’ll be told to change it, so write it down or photograph it.
The migration estimated one hour four minutes, which swings a lot, but I guessed 15–25 minutes. It actually took about 12–15 minutes. The new Mac then restarts into the final setup steps (Touch ID, and Apple Pay later), and the old Mac shows “migration completed.”
Gotchas
- iCloud blip. Migration makes iCloud think two identical computers are talking at once. The old Mac will start popping up alerts to re-sign in to iCloud (an Apple Account alert), which can be finicky. I recommend leaving it until you’ve finished setting up and checked the new Mac, then sign in again on the old one. In my case, it named the old Mac “MacBook Air 2” and the new one “MacBook Air 3,” resolving the naming error itself.
- Intel to Apple silicon: you may need to install Rosetta, which runs older apps on the newer Mac. Many apps have been updated to include both Intel and Apple silicon code, and some may just need updating.
- Third-party software (Adobe or other sites) may need to be reactivated on the new Mac, and deactivated on the old one, depending on the app. Mac App Store apps should just work.
Migrating later
If you already set up the new Mac without migrating, open Migration Assistant on both: on the new Mac choose From a Mac, on the old To a Mac, and follow the same steps; the data goes into the new Mac’s existing user profile.
That’s the simple, straightforward process. (An eagle-eyed viewer may notice an older Intel MacBook Air here and a newer M1: stay tuned to the channel to find out why.) After you’re fully up and running, you may want to rebuild your desk setup, like I did.
Links
- Dave2D’s Mac Speaker Video
- Get the 15” MacBook Air!
- Get the 13” MacBook Air
- 15” MacBook Air M2 vs 13”
- Thunderbolt 4 cable (backwards compatible)
- My New Desk Setup
- Casekoo Magic Stand Case
- My iPhone Art
- UNLIMITED Cloud Backup for your Mac with Backblaze
- Best Laptop
- Best iPad
- Mac Studio
- Studio Display
- Bamboo Monitor Stand
- CalDigit TS4
- Synology NAS
- RocketQ NVME SSD
- ACASIS NVME enclosure
- OWC Envoy Pro FX SSD
- Logitech MX Keys Mini
- Apple Magic Trackpad
- Logitech MX Master 3
- AirPods Max
- AirPods Max Stand (ETSY)
- Kanto YU2 Speakers
- Satechi Magnetic Charger 2-in-1
- My Camera
- Secondary Lens
- Sennheiser MKH-416 mic
- Zoom F6 recorder
- Rode VideoMic NTG
- Used DJI OSMO 3 Gimbal for some shots
- Tascam DR-10L Audio Recorder with Lav
Some links in this post are affiliate links, which means that if you click on one of the product links, I may receive a small commission. See my ethics statement.