M6 and M5 Pro Mac mini Setup Guide: Transfer Everything From Your Old Mac
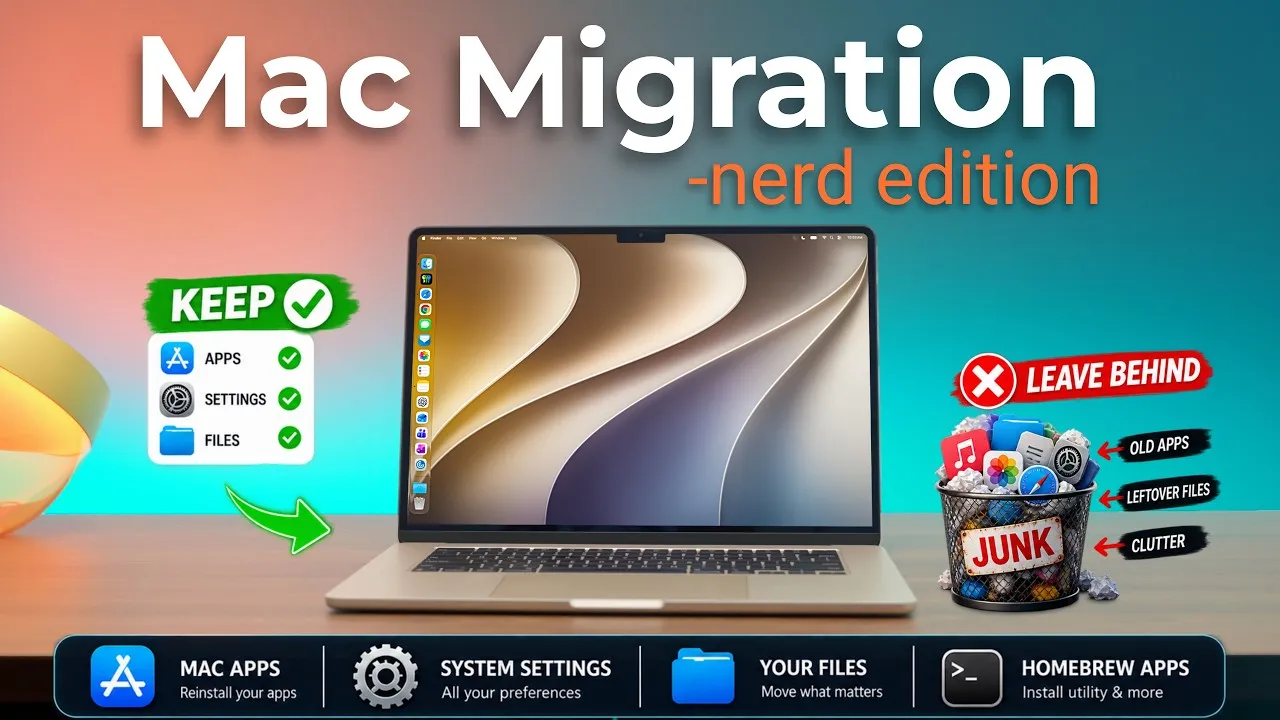
This is the new M6 Mac mini, and you’re probably excited to get it running as fast as possible. Here are the migration methods for moving everything from an old Mac (Time Machine and Migration Assistant) plus ways to set it up from scratch.
This video was sponsored by UGREEN.
The three options
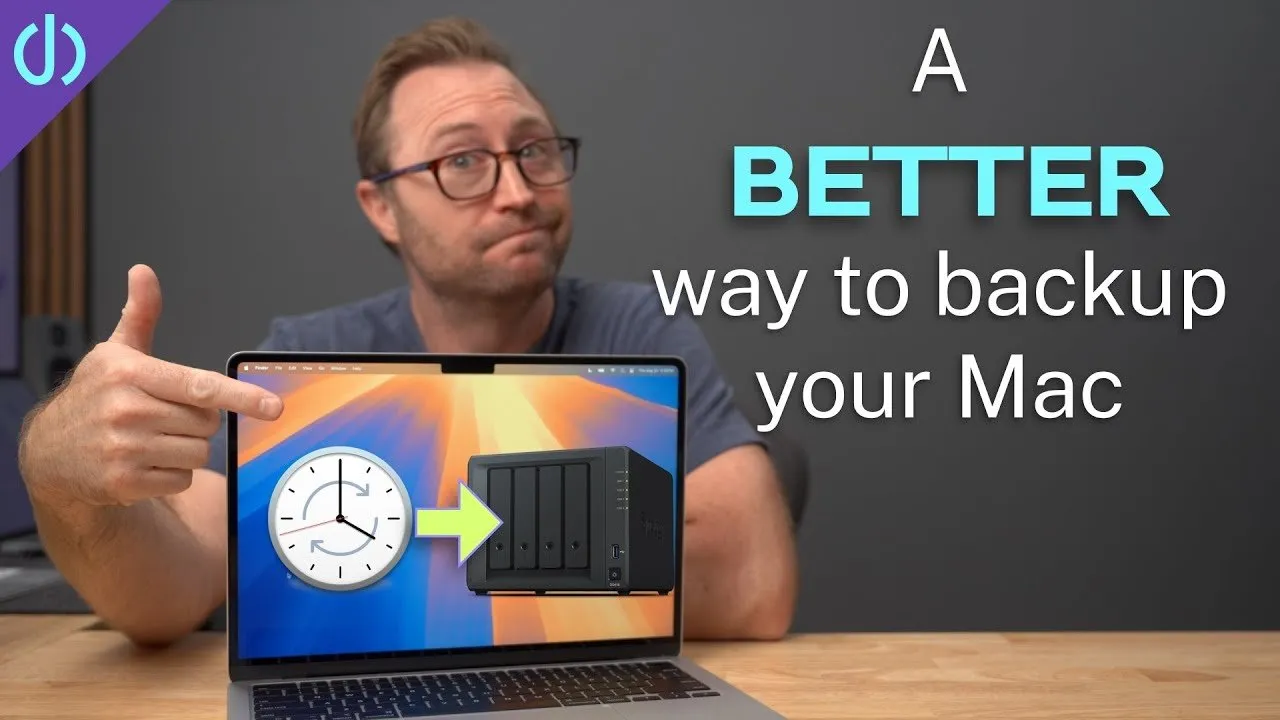
Time Machine: you need external storage, like an SSD, a hard drive, or my USB4 enclosure with a 1 TB Western Digital NVMe SSD. Once the backup is made, your old Mac isn’t needed, so you can keep using it while you set up the new one.
Migration Assistant: a direct transfer from the old Mac. Fastest over a Thunderbolt cable (3, 4 or 5) if both Macs have Thunderbolt, then Ethernet. If a Mac doesn’t have Ethernet, a 2.5 Gb USB-A or USB-C adapter is about $20, and there are 5 and 10 Gb Thunderbolt adapters. Wi-Fi is slowest. The downside is that your old Mac is locked and logged out for the whole migration, whether it takes an hour or 17.
Set up as new: manually copy files and reinstall apps. You don’t drag over leftover crap you don’t want, but it can take a while. I have an option for that below.
Time Machine
On the old Mac (a MacBook Air): System Settings → General → Time Machine → Add Backup Disk, choose the drive (mine is “WD1”), then set a password to encrypt it or uncheck encryption. Start it from the menu bar with Back Up Now. How long it takes depends on your data and drive. You can also back up to a supported NAS, which is out of scope here.
On the new Mac, if you don’t have a wired keyboard and mouse, put your Bluetooth mouse in pairing mode, then your keyboard, and type the code it shows. That can take longer than you expect. Choose your language and region, then From a Mac, Time Machine backup, or Startup disk. Skip accessibility, join Wi-Fi, accept the privacy info, and plug the backup drive into the Mac mini’s rear Thunderbolt ports, the fastest ones.
Choose the backup and the most recent date, and let it calculate. You’ll see how much space you need and how much will be left, and you can expand your user folder and uncheck folders you don’t need. Unchecking my FCP folder saved 40 GB. Set a password for the new account (it can match your old one), agree to the terms, and wait. Mine ran around 375–400 MB/s and finished in a few minutes. Restart, log in, sign in to iCloud with two-factor, and choose Screen Time later.
I recommend turning on FileVault, Apple’s disk encryption. Write down the recovery key and keep it somewhere else; I took a photo of it with my iPhone. Then you’re at the desktop, and it’s essentially a clone of the old Mac: apps, documents and settings.
Migration Assistant
Start the same way on the new Mac. At the migration screen, connect a Thunderbolt 4 cable between the Macs. On the old Mac, open Migration Assistant (Spotlight, or Applications → Utilities), enter your password (it quits your apps and logs you out), and choose To another Mac. On the new Mac, select the old one, confirm the matching code on both, and let it scan. Wait until calculating is done before continuing. Set a password and the migration starts; you can see it’s using Thunderbolt and check Connection Details. After it finishes, a summary showed some voice and Siri settings didn’t migrate, so I’ll set up Siri again. Then log in, sign in to iCloud, and all my apps and files were there.
Setting up fresh
Copy files with an SSD or AirDrop; iCloud Photos download automatically when you sign in. Reinstall Mac App Store apps from your account’s purchased list, and third-party apps like Chrome from their websites. That’s tedious and time consuming.
The way I like to do it is with a GitHub project of scripts I made. It captures your Mac App Store apps on the old Mac, then on the new one reinstalls them, applies my system settings, and installs third-party apps with Homebrew, a command-line app store. It installs only what I want, and I’m up and running in about 15 minutes. My full video on it is linked below.
Which should you use?
To migrate everything as fast as possible, I’d recommend Time Machine, if you have external storage. Direct migration works, but it leaves your old computer out of commission the whole time, so if you hit an issue you might be stuck. Or set it up new and copy files manually, or use my migration kit.
Links
- UGREEN NAS on Official Store(20% off, Oct 6th-Oct 9th)
- UGREEN NAS DXP4800 Plus(20% off, save $146)
- UGREEN NAS Series(20% off, Oct 6th-Oct 9th)
- External enclosure
- NVME SSD
- Thunderbolt 4 cable
- Ethernet to USB-C adapter
- Ethernet to USB-A adapter
- Elgato 4k Capture
- Elgato 4k Capture (cheaper)
- How I set up a new Mac in 15 minutes
In this video
- 00:00 M6 Mac mini Setup & Migration
- 00:24 3 Ways to Transfer to Your New Mac
- 02:39 Creating a Time Machine Backup
- 03:33 Time Machine Backup to a NAS
- 05:43 Setting Up the New M6 Mac mini
- 06:43 Restoring From Time Machine
- 08:06 Choosing What Data to Transfer
- 08:42 Time Machine Migration Begins
- 09:12 Finishing Your New Mac Setup
- 10:50 Migration Assistant Direct Transfer
- 11:27 Connecting Macs With Thunderbolt
- 11:37 Setting Up Migration Assistant
- 13:18 Starting the Direct Mac-to-Mac Migration
- 13:40 Migration Complete
- 14:15 Checking Migrated Apps & Files
- 14:53 Setting Up Your Mac From Scratch
- 15:21 Reinstalling Your Apps
- 15:51 Faster Clean Setup With Migration Scripts
- 16:41 Which Migration Method Should You Use?
Some links in this post are affiliate links, which means that if you click on one of the product links, I may receive a small commission. See my ethics statement.