How I Set Up a New Mac in Just 15 Minutes
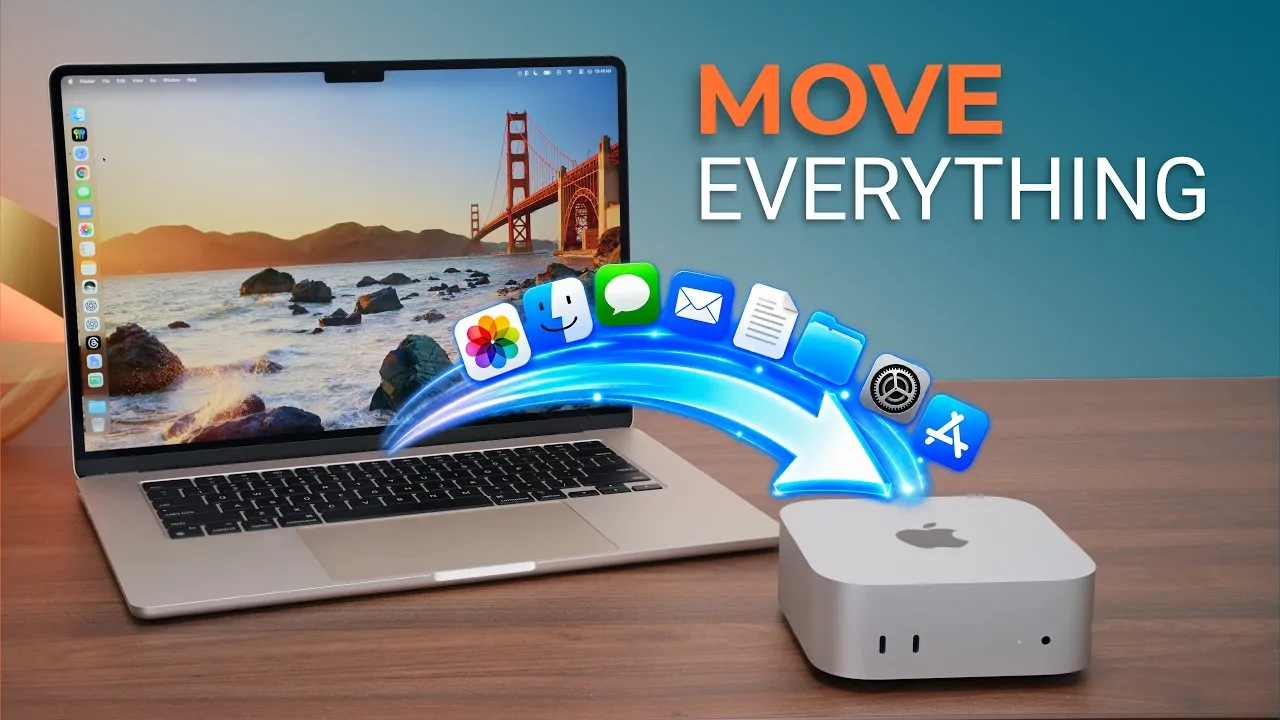
I set up a lot of new Macs for this channel, and getting the system settings, Finder settings, app settings and apps exactly the same takes a lot of work. You could use Time Machine or Migration Assistant, but sometimes you don’t want to move everything, like all the leftover crap from the old computer. And honestly, Time Machine likes to fail a lot, so I don’t really trust it.
So I created a migration toolkit: a set of scripts that moves just what you want. Apps from the Mac App Store, system and Dock settings, specific files, and third-party apps you don’t want to install by hand. I put it on GitHub (link below).
This video was sponsored by BenQ.
How it works
The easiest way to get it is the green Code button on GitHub, then Download ZIP. There are two parts: capture, which you run on the old Mac, and setup, which you run on the new one.
Everything is based on Homebrew, an open package manager for the Mac. You can install command-line tools like iperf, FFmpeg, or Python, or full apps, instead of visiting each developer’s website. If you haven’t checked it out, you probably should.
Capture saves the apps you’ve downloaded from the Mac App Store, your Dock layout, and in my case some Final Cut Pro settings and presets I want to carry over.
Setup reinstalls those App Store apps, restores those settings and files, applies a big set of system settings I use on every Mac (mouse, Finder, power), and installs my third-party apps with Homebrew: some fonts, Chrome, Citrix for work, benchmarking tools, even ChatGPT. Between the two, that’s nearly every app I need on every Mac I deploy.
Running the capture
The README has two prerequisites:
- System Settings → Privacy & Security → Full Disk Access, then add Terminal (Applications → Utilities).
- Make the scripts executable. Right-click the folder and choose New Terminal at Folder (or Services → New Terminal at Folder), then paste the command from the README.
Then type ./cap, press Tab to complete the name, and Enter. Enter your password and confirm the Homebrew install. Both scripts install Homebrew and Apple’s command-line developer tools if needed, which takes a couple of minutes.
The captured files land in an assets folder: Final Cut presets, a list of App Store apps (utilities, Final Cut Pro, Pixelmator, Resident Evil 4, Microsoft apps), and your Dock layout. Only pinned Dock apps are captured, not ones that are just running.
Running the setup
On the new Mac, choose set up as new during initial setup, not Time Machine or Migration Assistant. Once you’re signed in with your Apple Account, copy the whole folder over by AirDrop, network share, USB drive, whatever.
Give Terminal Full Disk Access again (you shouldn’t need to make the scripts executable again), open Terminal at the folder, type ./set, Tab, Enter, and your password. Homebrew and the developer tools install, then a few prerequisites (iperf, git, Python; press Y), then the Homebrew apps download in parallel and install one after another. Some need your password. Then the App Store apps install. Some show “install progress cannot be displayed” or take a few minutes, but they aren’t stalled. Finally, the system and Dock settings apply. Restart when it says some changes need a logout or restart.
After rebooting, my settings were there: no tags, Finder in list view sorted alphabetically, three-finger drag, and my display-off times of 30 minutes on battery and an hour on power. I went from maybe a couple of hours of setup to about 15 minutes.
Customizing it
- App Store apps: after capturing, just delete any line you don’t want, like Resident Evil 4 if you don’t want a multi-gigabyte download.
- Homebrew apps: find the app’s name in Homebrew’s cask list (VLC is just
vlc), add it on a new line, and save. - Files: edit the
fcp.shscript to capture the folders you need, or remove it. I don’t include much because my Desktop, Documents, and Photos sync through iCloud already. - System settings: each command in the settings script has a label. Add a new command, like switching to dark mode, and save. You can find these by searching or asking AI.
You can also use AI to change the scripts for you. I pointed a ChatGPT or Codex project at the folder, asked it to explain what’s happening, then asked it to stop capturing Final Cut profiles and capture my Documents folder instead. In under a minute it had replaced the FCP capture with a new documents capture script. I also had it remove the menu bar spacing setting, which tightens icon spacing so they don’t run into the MacBook Pro’s notch.
That’s how I do a clean setup of all my Macs: no old crap, no manual settings, just a couple of commands. Even if this isn’t for you, definitely check out Homebrew.
Links
- MigrationKit
- PD2732U Giveaway
- BenQ Monitors for Mac and MacBook Pro users
- BenQ Designer Monitors
- BenQ PD2732U
- PD2732U Amazon Link
- This dock has Everything!
In this video
- 00:00 Why Mac migration needs a better option
- 00:57 Downloading the Migration Kit
- 01:21 How the Migration Kit works
- 01:28 Using Homebrew for Mac apps
- 01:51 What the capture script saves
- 02:58 Preparing the old Mac
- 03:53 Running the capture script
- 04:47 Reviewing the captured apps, files & Dock
- 05:57 BenQ PD2732U
- 07:21 Setting up the new Mac
- 08:24 Running the setup process
- 09:00 Automatically installing apps
- 09:27 Installing Homebrew applications
- 10:12 Checking the new Mac after reboot
- 10:40 From hours of setup to about 15 minutes
- 10:59 Customizing the Migration Kit
- 11:27 Adding or removing Homebrew apps
- 11:56 Customizing files to migrate
- 12:41 Customizing macOS system settings
- 13:06 Using AI to customize the scripts
- 15:05 Final thoughts
Some links in this post are affiliate links, which means that if you click on one of the product links, I may receive a small commission. See my ethics statement.