How to Setup a NEW iPhone 15 or 15 Pro AND Transfer Your Data!
If you just picked up a new iPhone 15 or 15 Pro, here’s a full walkthrough of migrating everything from your old iPhone: contacts, settings, data, apps, your Apple Watch and even your phone number.
Before you start
Back up. Go to Settings → your name → iCloud → iCloud Backup and tap Back Up Now so you have the latest data, including text messages and iMessages. (A backup from today is probably fine.) If you prefer a computer, you can back up with iTunes on Windows or Finder on a Mac: connect the iPhone, choose it, click Encrypt backup and enter a password if asked, then Back Up Now. It can take a while: mine took over an hour.
Check storage. Your new iPhone probably has more storage, but check: if there’s too much data for the new iPhone’s capacity, you can’t transfer. In Settings → General → iPhone Storage, I had 112 GB used of 256 GB, but my new iPhone 15 is 128 GB. That’s too close, so I removed things: the iPhone suggests offloading unused apps (which keeps data and settings) and clearing offline maps (I had 522 MB). I deleted Call of Duty, a huge app, leaving 91.6 GB used.
Quick Start
With your old iPhone unlocked next to the new one, you get a prompt to use it to set up the new one. Tap Continue, scan the animated pattern on the new iPhone with the old one, choose to set it up for yourself, and enter the old iPhone’s passcode. Plug in both devices, since migration can take a while, and Apple no longer includes power adapters.
UGREEN sponsored this video, with its Nexode RG chargers, the cutest, most unique chargers I’ve seen: GaN chargers with a friendly face that shows charging status. The RG 65 W charges three devices at once and can take a MacBook Air to 70% in an hour; the RG 30 W takes a new iPhone 15 to 60% in 30 minutes. They have Thermal Guard protection that checks temperature 238 times a second. When I showed my wife, she wanted one for her desk.
Transfer your phone number
In the US, new iPhones don’t have a physical SIM; you migrate your number from the old one to an eSIM. With AT&T, T-Mobile or Verizon it should work without trouble. Smaller carriers, MVNOs like Google Fi or Mint Mobile, may need their app on the new phone after setup. I have two numbers on my old iPhone, but only my AT&T number was available. After confirming, it took about two minutes. It’s a little nerve-wracking, because if it fails you have to call the carrier.
The update
The first batch of iPhone 15s shipped with a bug that affected migration, so Apple prompts you to update before continuing. It took about 10 minutes. The update reboots the iPhone, so you’ll have to scan with the old iPhone again to re-pair them and enter the old passcode.
Face ID
Tap Continue, move your head in a circle to scan your face, and do it a second time. You can also set up Face ID with a mask, which does another scan, and a third without glasses. I did it all now.
Transfer your data
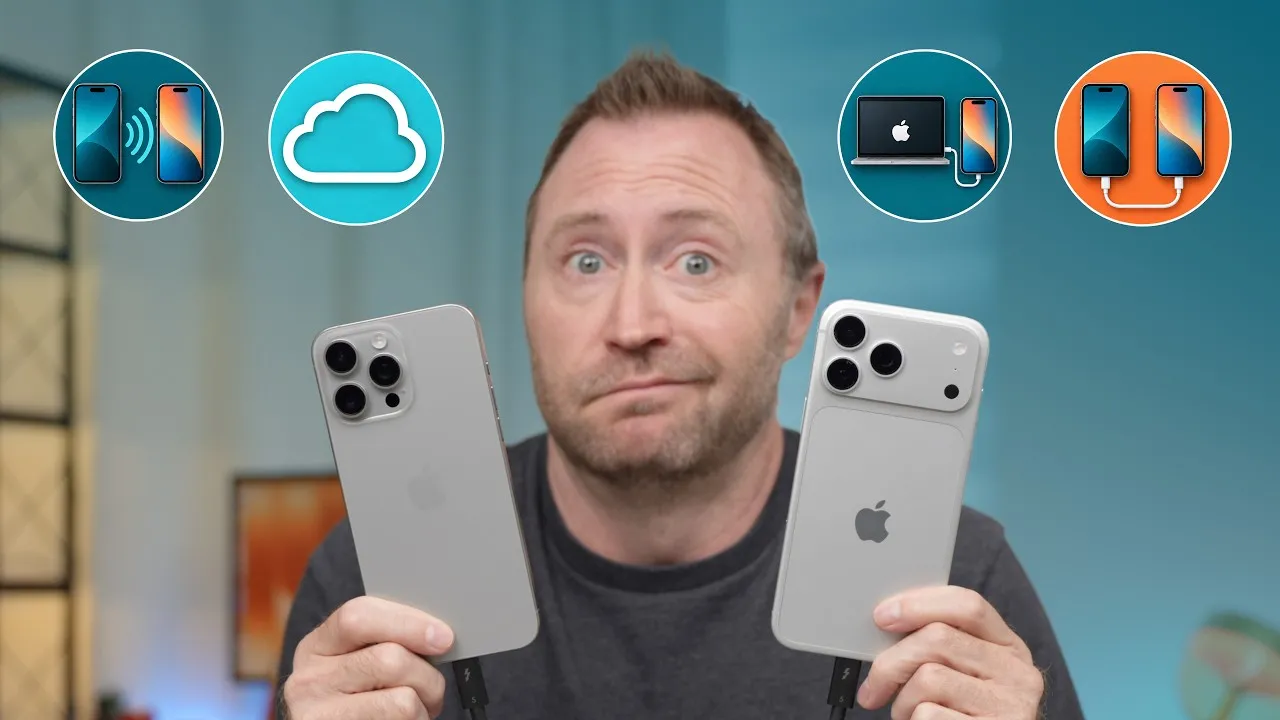
You have two main options:
- Download from iCloud: about 15 minutes to bring down the initial data, then you can use your phone while everything else downloads in the background, and your old iPhone is still usable the whole time. In my case, this took only about four minutes.
- Transfer from iPhone: a direct Wi-Fi connection that can take quite a long time, and during that time you can’t use either iPhone.
Other options include from a Mac or PC backup, from Android, or don’t transfer anything. For speed, I chose iCloud.
Sign in to your Apple Account, agree to the terms (this takes a few minutes), pick the backup from today, and choose what to bring over: apps and data, settings, Screen Time and Siri, and Apple Wallet and your Apple Watch. I skipped adding cards for now (you re-enter the three-digit code on each) and continued past the Emergency SOS information.
When it restarts, you’ll see a couple of reboot cycles, and the old iPhone is free to set aside. Then your Apple Watch vibrates and asks to pair with the new iPhone: enter your watch PIN, and it resets and pairs.
After the restore
Icons are grayed out as apps and their data download in the background. Meanwhile, you can set up email, make calls and send texts. Photos start arriving within a couple of minutes, and the whole library takes a while.
All in all, it took about 20–25 minutes for the migration, which isn’t bad for everything it’s doing. Even with the extra 10-minute update, the iCloud restore saved a lot of time over a device-to-device transfer.
Links
- Ugreen Nexode RG 65W Charger(Black)
- Ugreen Nexode RG 30W Charger(Black)
- Ugreen Nexode RG 30W Charger(Purple)
- Ugreen official store
- Buy the iPhone 15 Pro Max
- Buy the iPhone 15 Pro
- iOS 17 - Top 5 Features!
- My Charging Partner: Ugreen Amazon store
- My Case Partner: Pitaka
- https://twitter.com/jerryschulze
- https://www.threads.net/@jerryschulzeonyt
- https://mastodon.world/@jerryschulze
- https://bsky.app/profile/jerryschulze.bsky.social
- My iPhone Art
- Grovemade Desk Mat and Knife (save 10% JERRY10)
- UNLIMITED Cloud Backup for your Mac with Backblaze
- Best Laptop
- Best iPad
- Mac Studio
- Studio Display
- Bamboo Monitor Stand
- Synology NAS
- RocketQ NVME SSD
- ACASIS NVME enclosure
- OWC Envoy Pro FX SSD
- CalDigit TS4
- Logitech MX Keys Mini
- Apple Magic Trackpad
- Logitech MX Master 3
- AirPods Max
- AirPods Max Stand (ETSY)
- Kanto YU2 Speakers
- Satechi Magnetic Charger 2-in-1
- My Camera
- Secondary Lens
- Sennheiser MKH-416 mic
- Zoom F6 recorder
- Rode VideoMic NTG
- Used DJI OSMO 3 Gimbal for some shots
- Tascam DR-10L Audio Recorder with Lav
In this video
Some links in this post are affiliate links, which means that if you click on one of the product links, I may receive a small commission. See my ethics statement.