How to Setup a NEW iPhone 14 or 14 Pro AND Transfer Your Data!
If you’ve just ordered or picked up an iPhone 14, 14 Plus, 14 Pro or 14 Pro Max, you’re probably upgrading from an older iPhone. This is a quick walkthrough of the initial setup and full migration, done in real time with my freshly unboxed iPhone 14 Pro (in Space Black). Shaker & Spoon sponsored this video.
Before you start: back up
Depending on the migration path, do this first.
- iCloud: go to Settings, tap your name, then iCloud, then iCloud Backup. Make sure it’s on, and if you haven’t backed up recently, tap Back Up Now.
- Mac (Finder) or PC (iTunes): connect the phone to the computer, check Encrypt local backup, set a password if asked, and click Back Up Now.
A local backup takes some time. My iPhone has about 65 GB used (Settings, General, iPhone Storage), and the first backup to my Mac took well over an hour and created a folder of almost 195 GB, which is something to keep in mind.
Setting up the new iPhone
- Turn on the new iPhone (press and hold the power button) and swipe up. Your old iPhone shows an alert for Quick Start; tap Unlock to continue.
- Scan the orb code on the new iPhone with your old iPhone’s camera. This transfers your Wi-Fi and Apple ID, so you don’t have to type them in again.
- Enter the passcode of the old phone to verify you’re the owner. Setup takes a few minutes; it was already connected to Wi-Fi.
- Transfer your phone number. The North American iPhone 14 line has no physical SIM, so you can’t pop the SIM out of the old phone; the number moves to the built-in eSIM. I’m an AT&T user, and with AT&T, Verizon, T-Mobile or any of the big U.S. carriers it should be a pretty seamless transition. With an MVNO or smaller carrier, you’ll probably need that carrier’s app: skip this step and do the migration after setup. The number stops working on the old phone once it transfers. Mine took about two minutes, and the new iPhone connected.
- Set up Face ID. Move your head in a circle. In previous years you needed two scans, but this time one was enough. You can also add Face ID with a mask now or later in Settings.
Choosing how to transfer your data
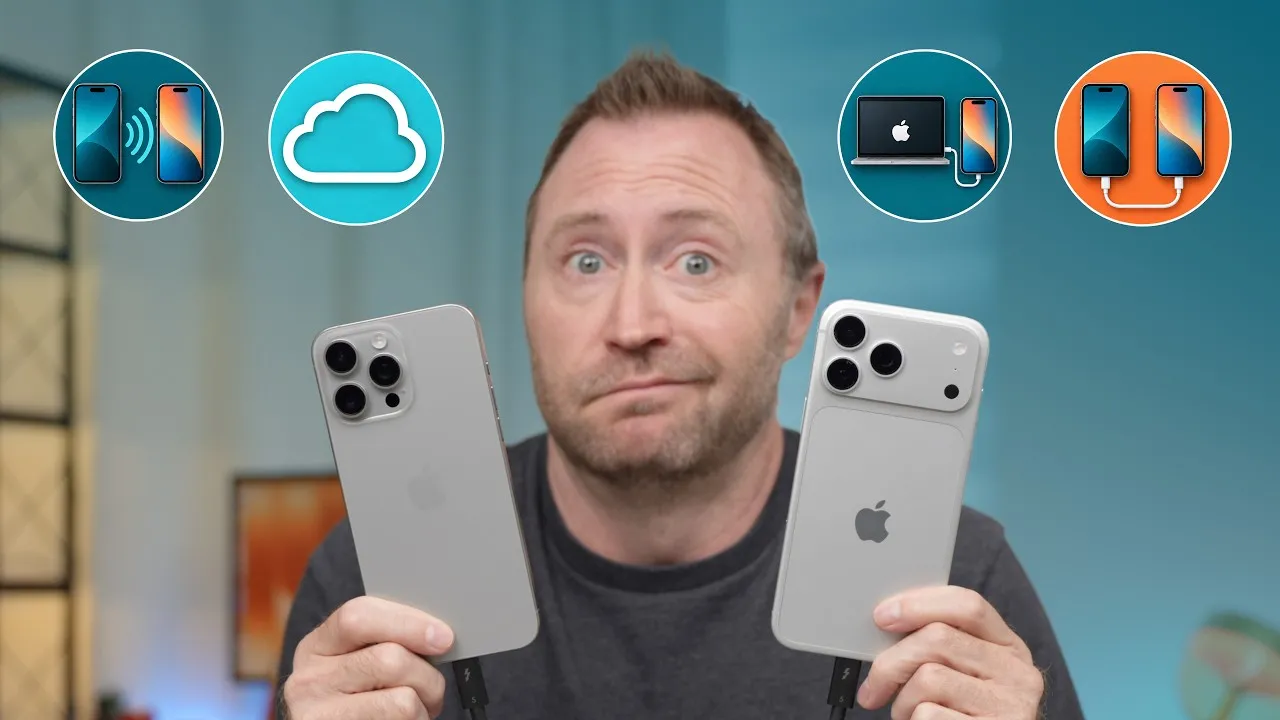
The other options listed are: restore from iCloud backup, restore from Mac or PC, transfer directly from iPhone, move data from Android, or don’t transfer. The three main options:
- Restore from iCloud backup: downloads everything saved in the backup. Apps aren’t in the backup, but it has links to them, so the apps are re-downloaded afterward. Setup is quick and you can use your phone while apps and background data download, but it means a lot of app data from the internet, so it depends on your connection speed. Your old phone isn’t locked up either.
- Transfer directly from iPhone: moves everything wirelessly, including the apps, so nothing is re-downloaded. It’s a great option with slow internet, but both phones are locked until the transfer is finished. In previous years, with about 60 to 70 GB, it has taken me a couple of hours, and more data means multiple hours.
- Restore from Mac or PC: a hybrid. Documents and data are restored from the computer’s local backup, but apps still have to be downloaded from the internet.
In my opinion, if you have a good internet connection and a recent backup, restore from iCloud backup is the fastest way to get up and running.
I chose that, picked the backup of my 13 Pro (made that day), and chose to transfer everything: Apple Watch, Apple Wallet items, settings, and apps and data. You can set up the Wallet cards one at a time now or later. The new emergency features are explained on screen, including the satellite service coming later this year and Crash Detection.
What it looks like
It took about four minutes for the basics to download and the first reboot to start. After the reboot, the phone brought over my lock screen configuration, and I could use it while apps downloaded in the background (the icons are faded). I started verifying the backup around 5:15 and it was fully set up by 5:41, about 25 minutes, even with explaining each step, so it should go a little faster for most people.
Then you can play with the new camera, send messages, browse in Safari or set up your lock screens with the new iOS 16 features, because you aren’t stuck waiting for hours on a direct transfer. Just stay connected to the internet while it finishes downloading everything.
Links
- Use my code JERRY or the link
- Should you get the iPhone 14 pro?
- My iPhone Art
- UNLIMITED Cloud Backup for your Mac with Backblaze
- Best Laptop
- Best iPad
- Mac Studio
- Studio Display
- Bamboo Monitor Stand
- CalDigit TS4
- Synology NAS
- RocketQ NVME SSD
- ACASIS NVME enclosure
- OWC Envoy Pro FX SSD
- Logitech MX Keys Mini
- Apple Magic Trackpad
- Logitech MX Master 3
- AirPods Max
- AirPods Max Stand (ETSY)
- Kanto YU2 Speakers
- Satechi Magnetic Charger 2-in-1
- My Camera
- Secondary Lens
- Sennheiser MKH-416 mic
- Zoom F6 recorder
- Rode VideoMic NTG
- Used DJI OSMO 3 Gimbal for some shots
- Tascam DR-10L Audio Recorder with Lav
In this video
Some links in this post are affiliate links, which means that if you click on one of the product links, I may receive a small commission. See my ethics statement.